.
-as of [20 JULY 2026]-
.
-[DOUBLE-TAKE] VIDEO TUTORIAL-
-iCLOUD DRIVE-
‘/Users/joga/Library/Mobile Documents/com~apple~CloudDocs/ZZZ – ARCHIVES – ZZZ/-HANDBOOX-/-FILM EDITING-/-APPS-/-iOS APPS-/-FILMIC PRO-/-DOUBLETAKE-/DOUBLETAKE TUTORIAL (1).mp4′
*top left corner* –>

*LIBRARY* —>
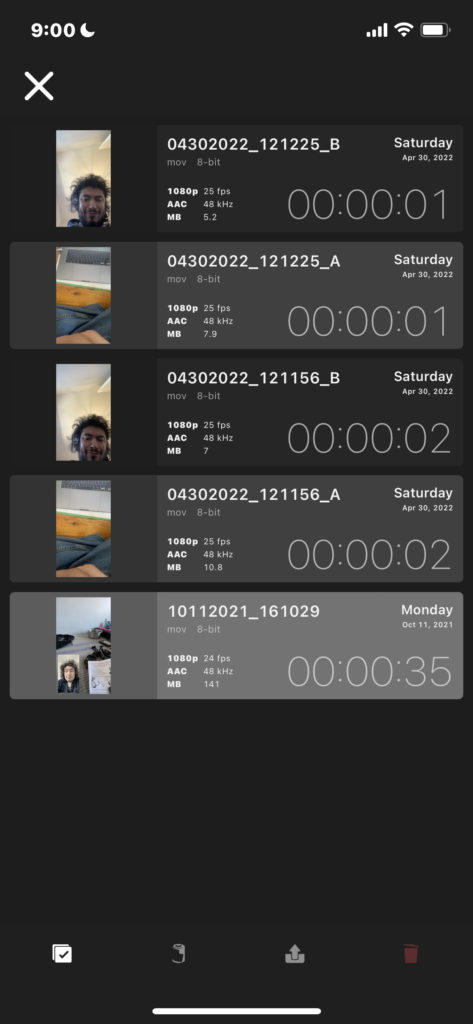
*click + drag left to reveal the ‘trash button’* –>
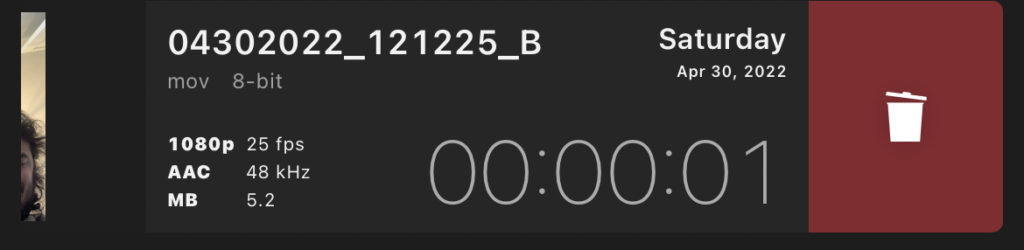
*left image thumbnail*
*video file name* –>
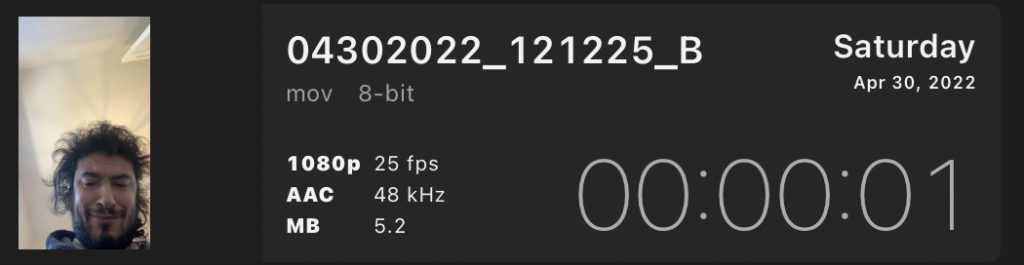
04302022_121225_B
(i’m guessing that means ’30 april 2022′)
(12:12:25 PM)
‘A’ –> ‘rear-facing camera’
‘B’ –> ‘front-facing camera’
‘no tag’ –> ‘front/rear’
(‘front-facing camera’ is placed in ‘lower left corner’ of the ‘rear-facing camera’ frame)
(the date is repeated to the right)
(april 30, 2022)
(along with the ‘day’ of the ‘week’)
(saturday)
*file type* –>
.MOV
*8-BIT*
*1080P*
*25 FPS*
*AAC*
*48 kHz*
*5.2 MB*
(which is confusingly displayed as MB 5.2)
00:00:01
(‘0 hours’ / ‘0 minutes’ / ‘1 second’)
*click on the ‘video profile’ to open this screen* –>
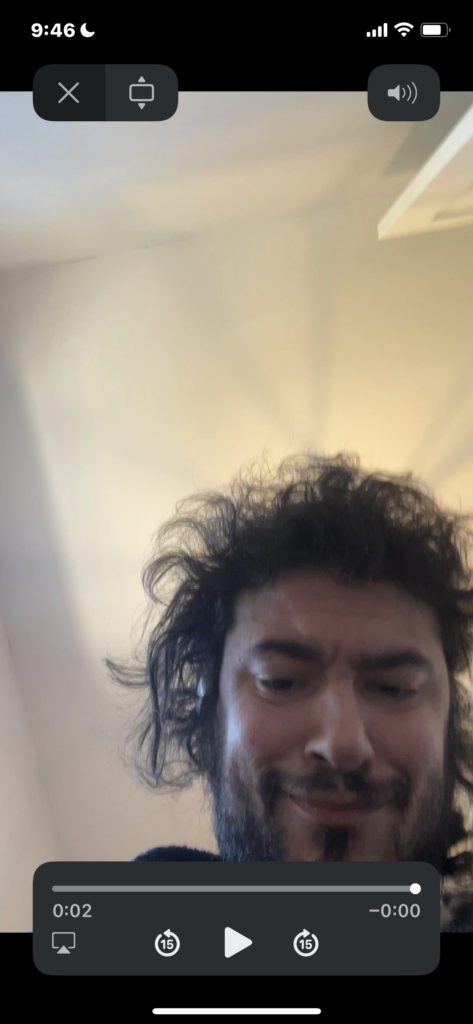
*TOP LEFT CORNER* –>
*press ‘x button’ to return to your ‘library’* –>

*press ‘vertical stretch button’ to ‘fill screen’* –>

*TOP RIGHT CORNER* –>
*press button to toggle ‘audio’ on/off*
*ON* –>

*OFF* –>
*BOTTOM ROW* –>
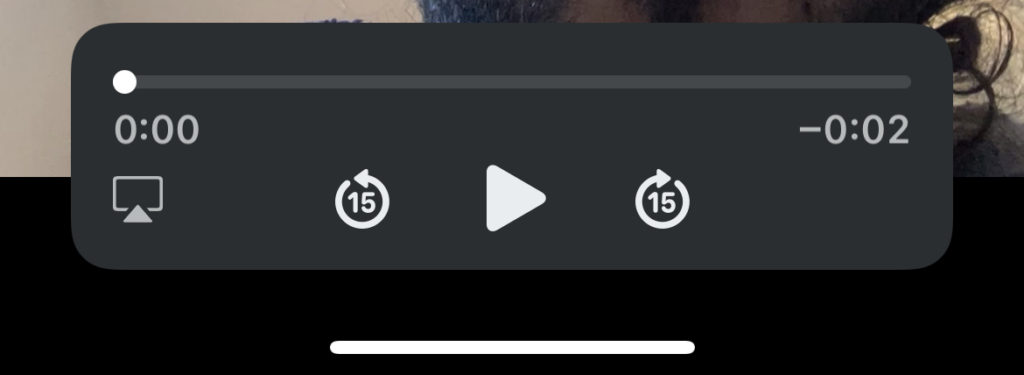
*tap the ‘X’ button in ‘top left corner’ to return to your ‘video library’*
*BOTTOM ROW*
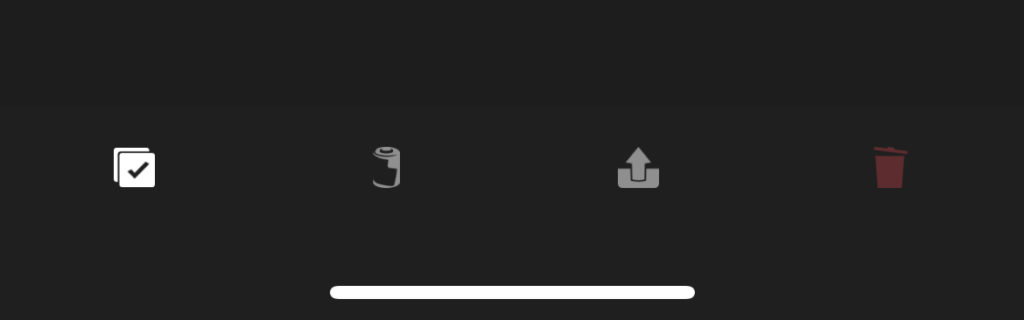
.
*4 TABS*
‘check-box’
*’save’ to ‘camera roll’*
*share*
*delete*
.
1
‘CHECK-BOX’
(although it will always include the ‘check-mark’)
*default appearance* –>
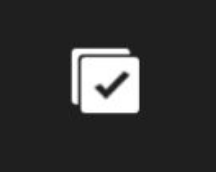
*press the ‘check button’ once to navigate to this screen* –>
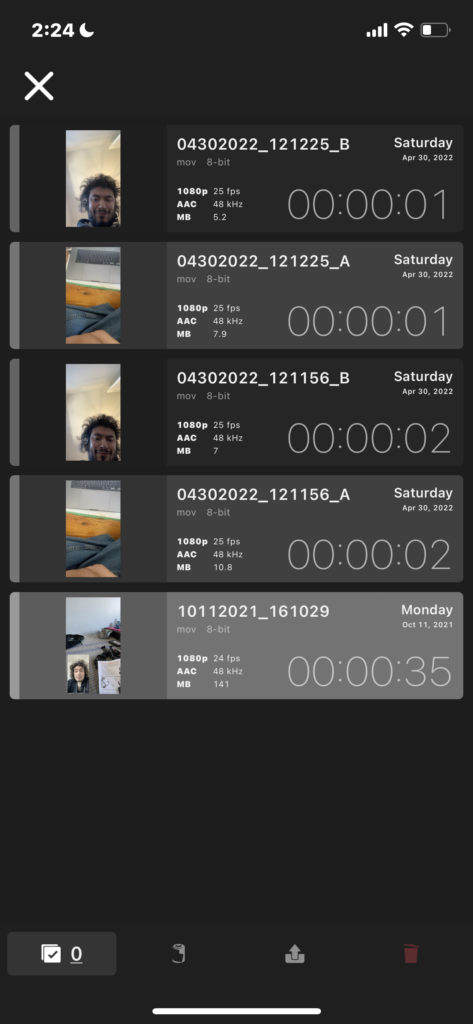
*note the left column’s new features* –>

*click into the leftmost ‘light gray bars’ to select video(s)*
*once you press the ‘light gray bar’, it turns ‘yellow’*
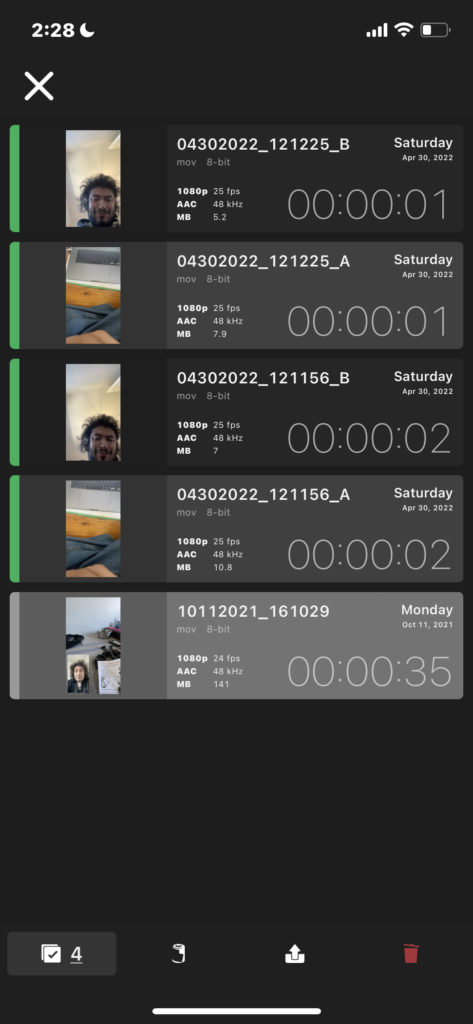
*the # to the right of the ‘check box’ tells us how many ‘video files’ are selected*
*you have to press each ‘vertical bar’ to select it*
(you can’t ‘bulk-select’ by ‘pressing/dragging’)
(at least i can’t at the moment)
*when you select all ‘video files’, a ‘green backdrop’ appears behind the ‘check box button’* –>
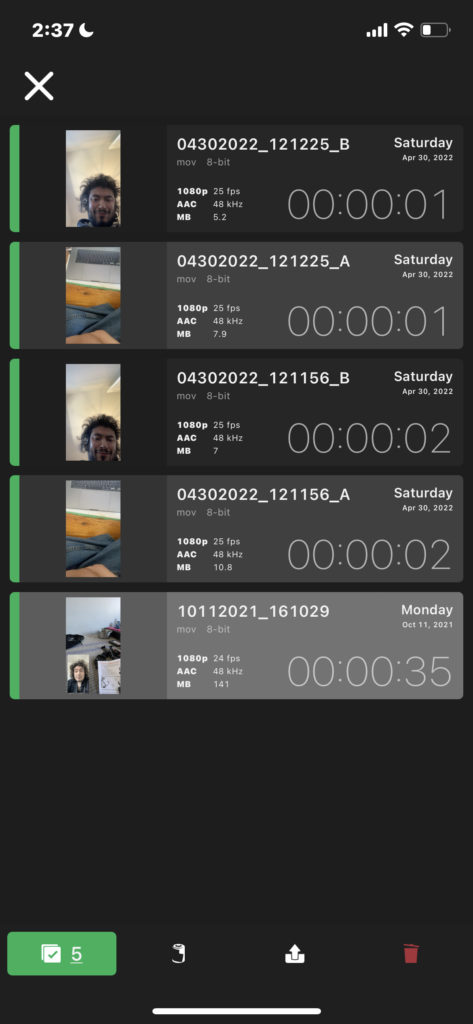
*if you hold down the ‘checkbox button’, you can ‘select all files’ at once*
*the next 3 tabs in this ‘bottom row’ are only accessible when at least 1 video file is ‘selected’*
*’SAVE’ TO ‘CAMERA ROLL’*
*SHARE*
*DELETE*
*OFF* –>

*ON* –>

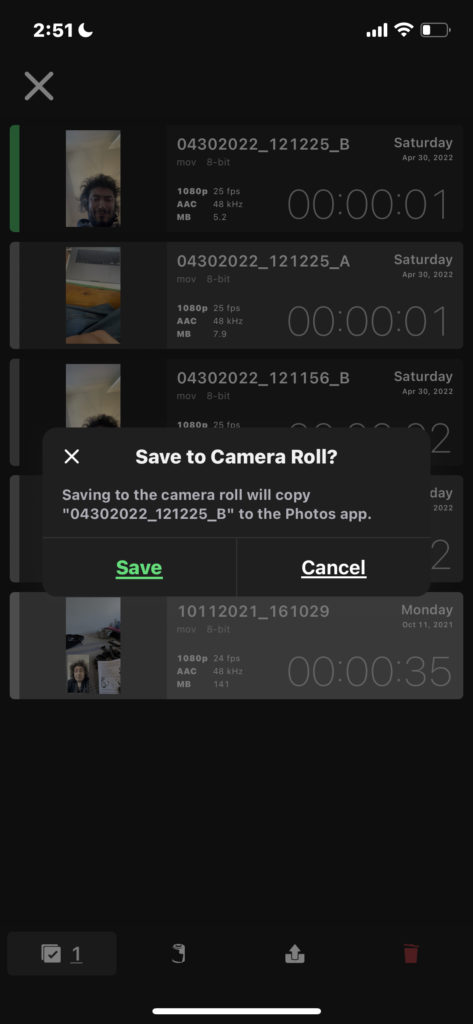
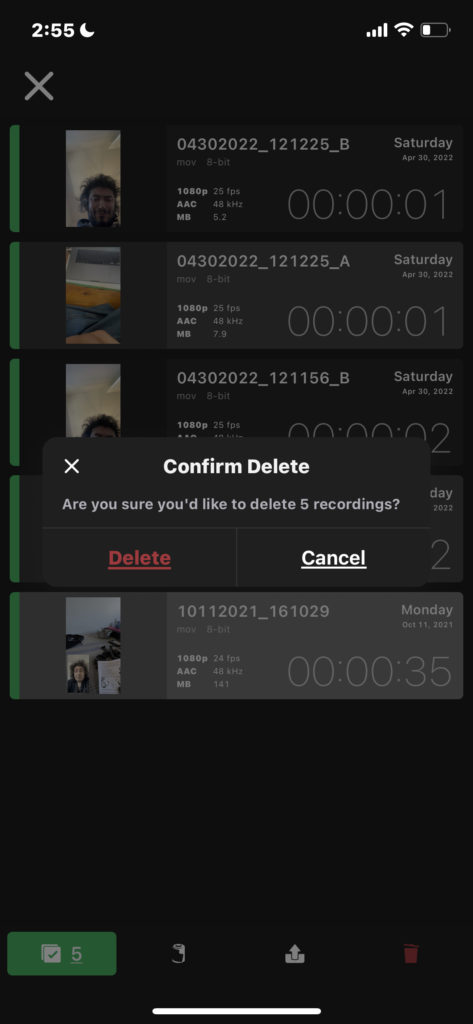
*press the ‘camera roll button’ and you get this ‘warning pop-up’* –>
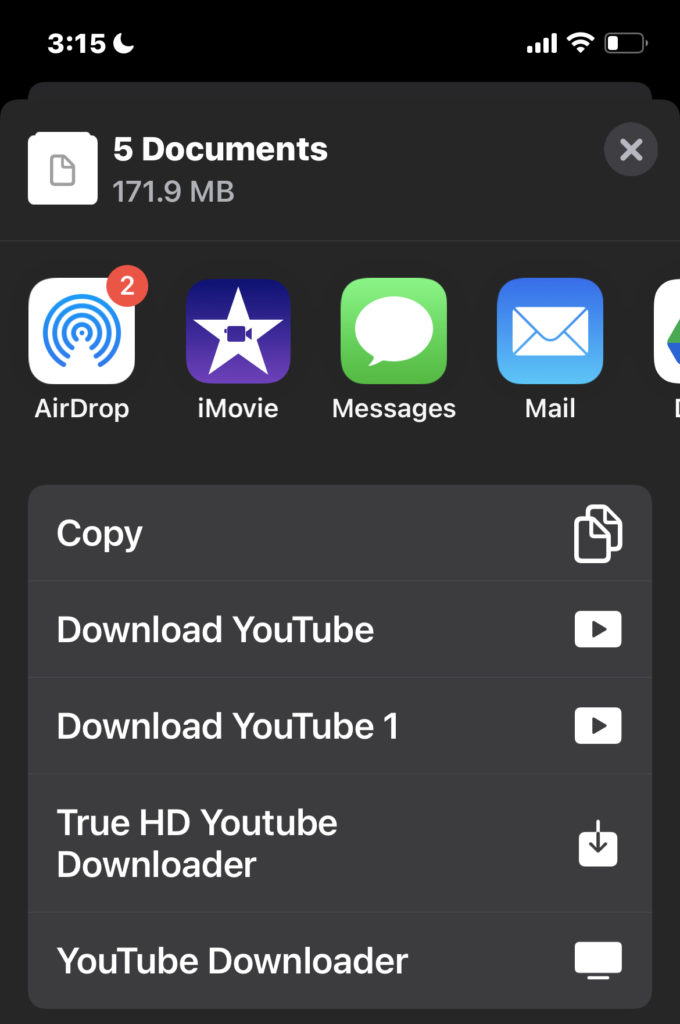
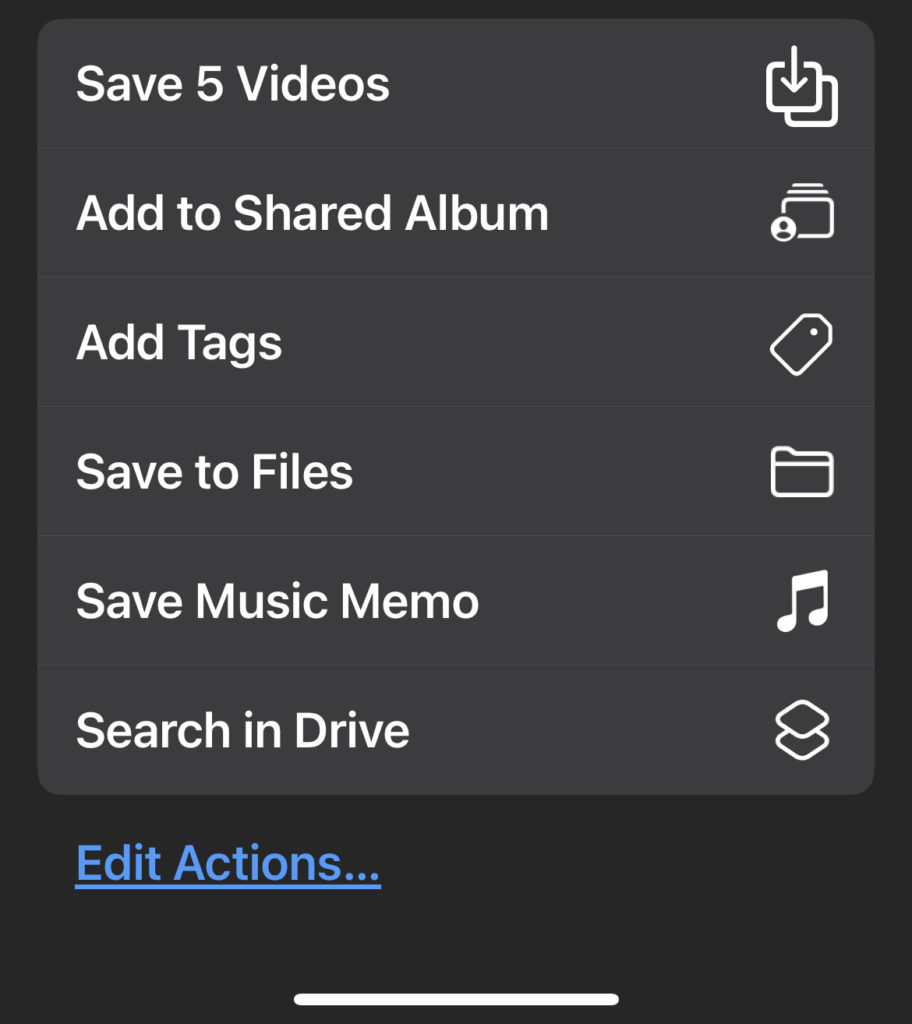
*share*

*press ‘delete’*
.
*TOP RIGHT CORNER* –>
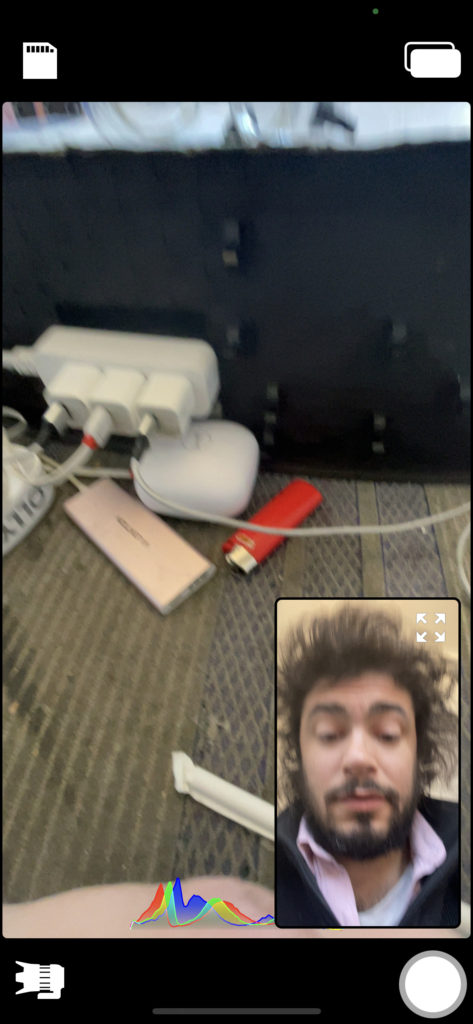
*tap to scroll through 3 ‘camera modes’* –>
1
*DISCRETE*
(default mode)
(records 2 separate ‘video files’ for ‘front-facing footage’ + ‘rear-facing footage’)
(so people don’t know you are filming them?)
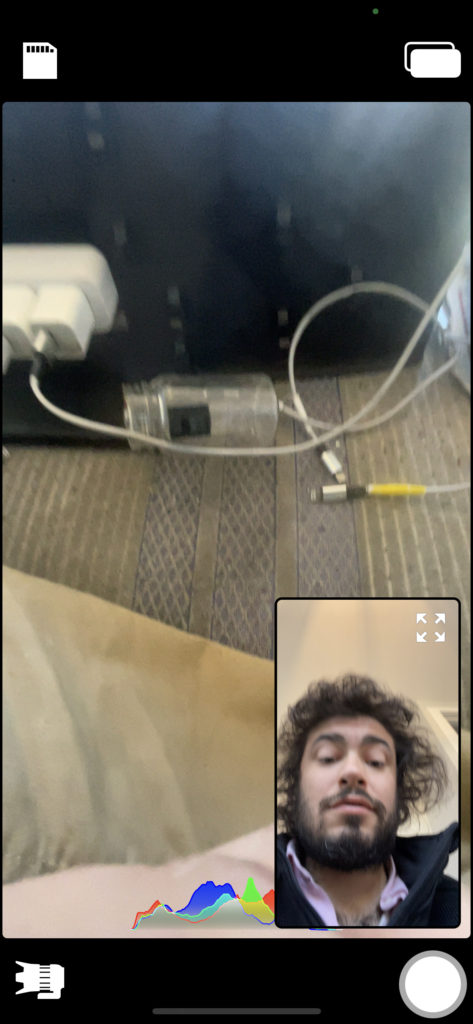
2
*’PICTURE IN PICTURE’*
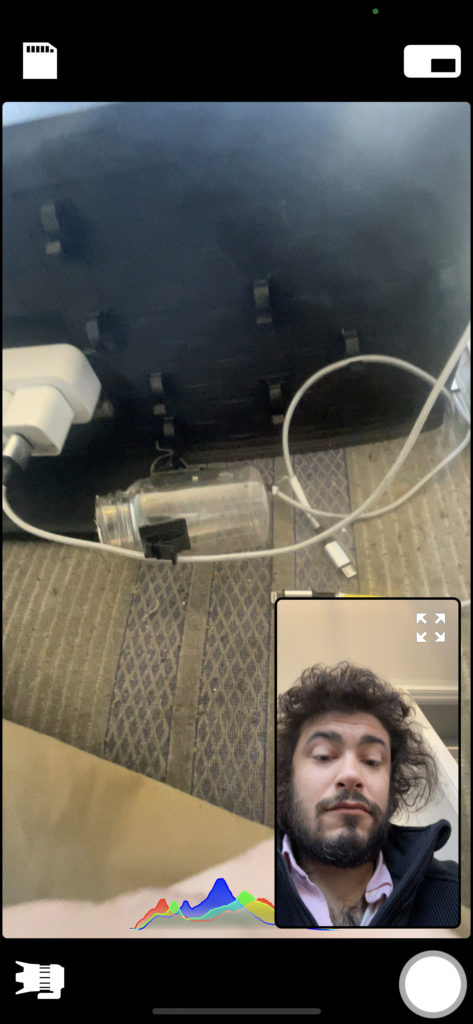
*all ‘real-time adjustments’ are recorded*
3
“SPLIT SCREEN”
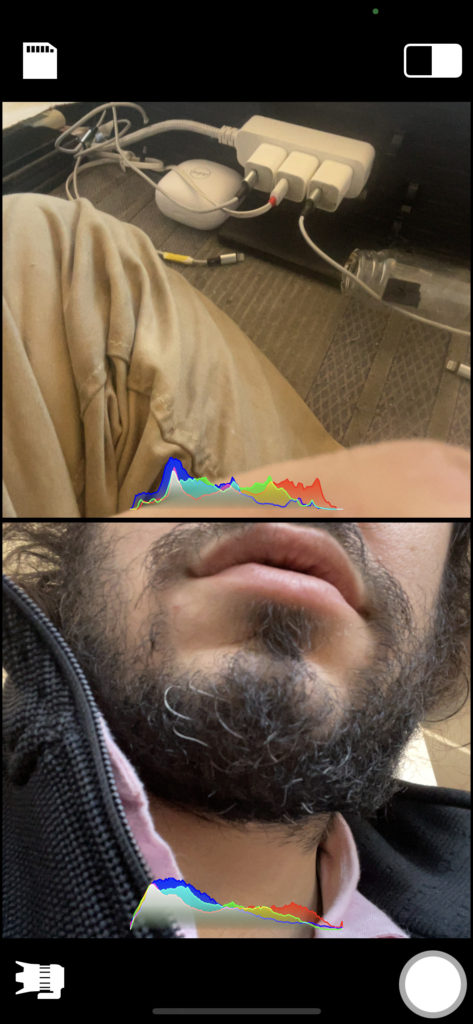
*enables specific ‘reticles’ for each ‘split screen section’*
(but how do you ‘halve the screen’ in other ways?)
(like ‘horizontal’)
(like ‘diagonal’)
*TAP ANYWHERE ON SCREEN TO ADJUST “CAMERA FOCUS”*
*AFTER FOCUS IS SET, DOUBLE-TAP + HOLD ON THE ‘FOCUS SPOT’*
(THE FOCUS WILL BECOME A ‘YELLOW SQUARE’)
(IT WILL BE LOCKED IN THAT POSITION UNTIL YOU TAP ELSEWHERE)
*BOTTOM LEFT CORNER* –>
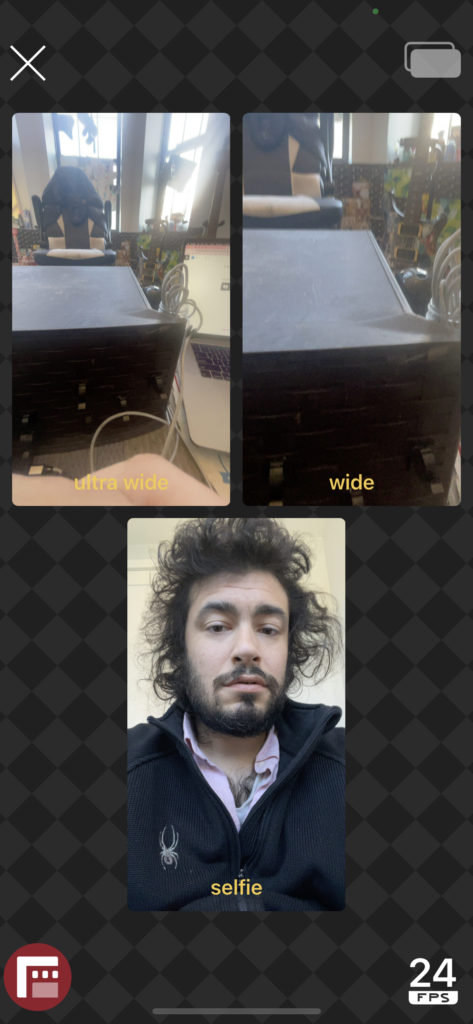
*select your ‘foreground/background’ cameras*
(tap the ‘X button’ in ‘top left corner’ to return to ‘camera view’…)
*if you de-select all cameras, the ‘camera view’ will default to previous settings*
(‘camera A’ will be your ‘backdrop frame camera’)
(‘camera B’ will be your ‘smaller monitor camera’)
*3 options*
(2 ‘rear-camera options’)
(‘ultra-wide’ + ‘wide’)
(1 ‘front-camera option’)
(‘selfie’)
*to open your ‘filmic app’, tap the ‘bottom left corner button’* –>
*toggle between 3 ‘frame rate options’ by tapping ‘bottom right corner button’* –>
(24 / 25 / 30)
*BOTTOM RIGHT CORNER* –>

*press button to ‘record’*
*press button again to ‘stop recording’*
*you can change location of your ‘smaller frame’ in ‘picture-in-picture camera mode’*
*drag/drop*
*as long as ‘1 complete side’ of the smaller frame is super-imposed on the larger background frame*
(you can’t custom-adjust size of ‘smaller frame’)
*if you drag the ‘smaller frame’ off-frame, an ‘arrow’ will appear on the side of your ‘larger frame’*
*press the ‘arrow/karet button’ to move the ‘smaller frame’ back in frame*
(you can enter ‘full screen mode’ by clicking this button in ‘top right corner’ of ‘smaller frame’…)
*in ‘full-screen mode’, you can swipe up/down to hide that frame*
(and click the corresponding ‘karet button’ to move it back to ‘full-screen mode’)
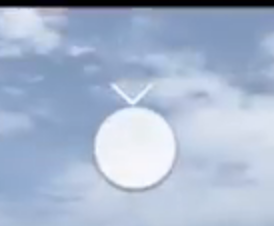
*re-click the ‘top right corner’ button in smaller frame to return to its original size*
*focus/exposure settings combined in a single ‘reticle’*
*tap once to set an ‘area of interest’* –>
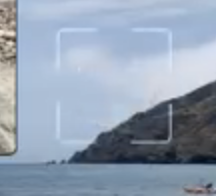
*tap ‘reticle’ to lock the value* –>
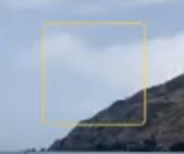
(note the new yellow border)
*you can set different ‘points’ for the ‘front-facing camera frame’ + ‘rear-facing camera frame’*
-they will remain ‘locked’ even when the ‘camera frame’ is minimized–
.
.
.
*👨🔬🕵️♀️🙇♀️*SKETCHES*🙇♂️👩🔬🕵️♂️*
.
.
👈👈👈☜*“DOUBLETAKE”* ☞ 👉👉👉
-THE [iOS APP]–
.
.
💕💝💖💓🖤💙🖤💙🖤💙🖤❤️💚💛🧡❣️💞💔💘❣️🧡💛💚❤️🖤💜🖤💙🖤💙🖤💗💖💝💘
.
.
*🌈✨ *TABLE OF CONTENTS* ✨🌷*
.
.
🔥🔥🔥🔥🔥🔥*we won the war* 🔥🔥🔥🔥🔥🔥