-as of [29 JULY 2026]-
.
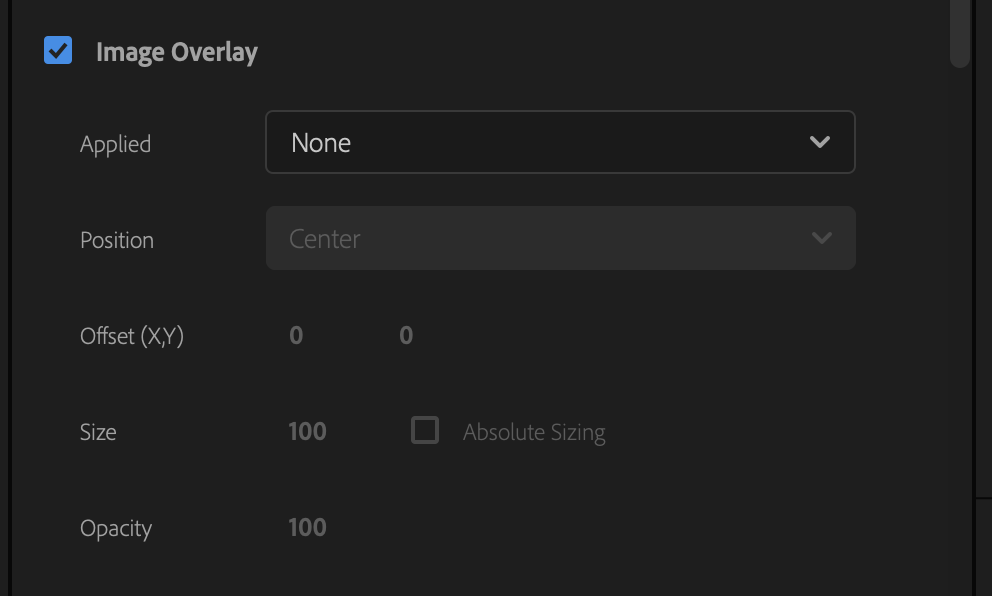

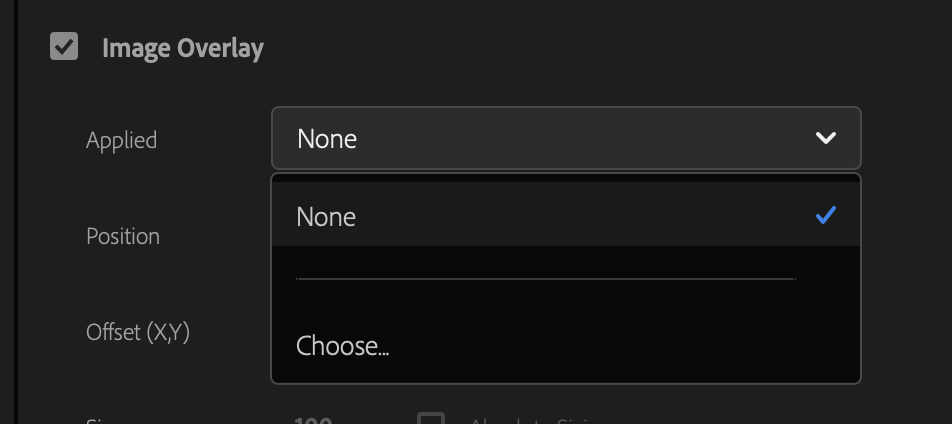
.
*CHOOGE ‘IMAGE FILE’ FROM YOUR ‘DATA’* –>
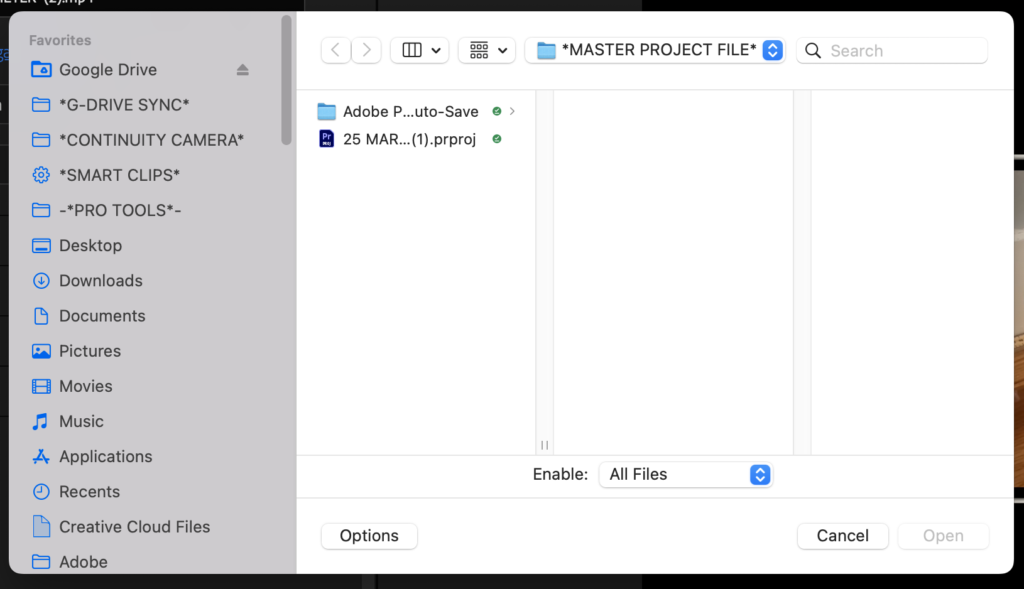
.
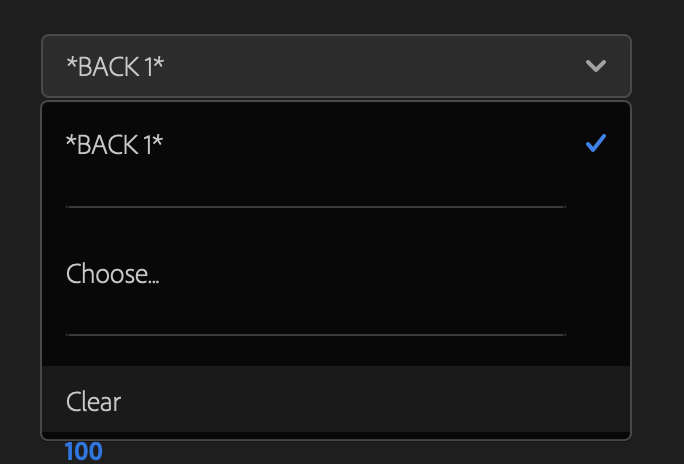
*choose an ‘image file’ + it will be positioned in ‘center’ of your ‘frame’* –>

.
*choose ‘clear’ to get rid of the ‘image overlay’* –>
.
(seems like you can only choose 1 ‘image overlay’ at a time)
(how to create a LUT from my ‘business card logo’)
(without ‘photoshop’)
(‘lumetri color’ panel)
.
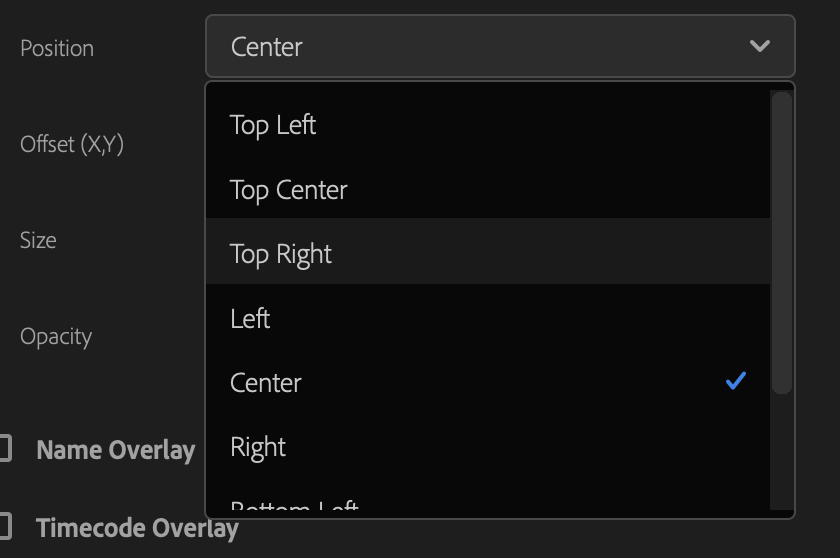
*position* –>

.
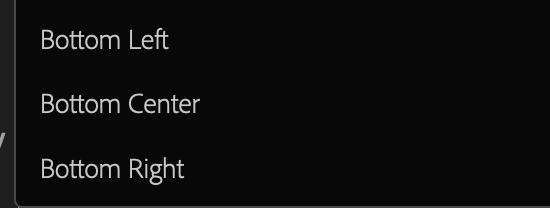
*9 OPTIONS* –>
*TOP LEFT*
*TOP CENTER*
*TOP RIGHT*
*LEFT*
*CENTER*
RIGHT*
*BOTTOM LEFT*
*BOTTOM CENTER*
*BOTTOM RIGHT*
.
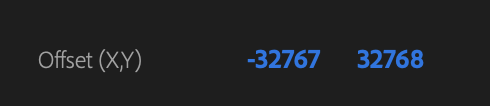
*input your horizontal/vertical position* –>
(relative to your chosen ‘position’ you just selected)
.
*choose ‘size’ of ‘image overlay’* –>
(default is 100)
(you can set size between 0 – 600)
.
By default, the image overlay’s size auto‐adjusts to the current output frame size.
The image gets overlaid according to its relative size regardless of the output resolution.
.
Absolute Sizing
Enable this option to link the image overlay’s size to the native size of the source image
When enabled, the image overlay appears smaller at higher output resolutions and larger at lower output resolutions
*OPACITY*

(default is 100)
*you can set it between 0% (no image) – 100% (all image)*
.
.
.
*👨🔬🕵️♀️🙇♀️*SKETCHES*🙇♂️👩🔬🕵️♂️*
.
.
👈👈👈☜*-“EFFECTS”-* ☞ 👉👉👉
-SETTINGS-
-EXPORT MODE-
-PREMIERE PRO-
.
.
💕💝💖💓🖤💙🖤💙🖤💙🖤❤️💚💛🧡❣️💞💔💘❣️🧡💛💚❤️🖤💜🖤💙🖤💙🖤💗💖💝💘
.
.
*🌈✨ *TABLE OF CONTENTS* ✨🌷*
.
.
🔥🔥🔥🔥🔥🔥*we won the war* 🔥🔥🔥🔥🔥🔥